
There are a lot of opinions about the order of operations for a van build, and, ultimately, it seems to come down to personal preference. Because I was scared of cutting holes in the roof or side of my van and because I was less intimidated by building shapes out of foam and 2x2s, I decided, after scrubbing, priming and painting Mo‘s floor, that the next step should be installing the floor.
The Process
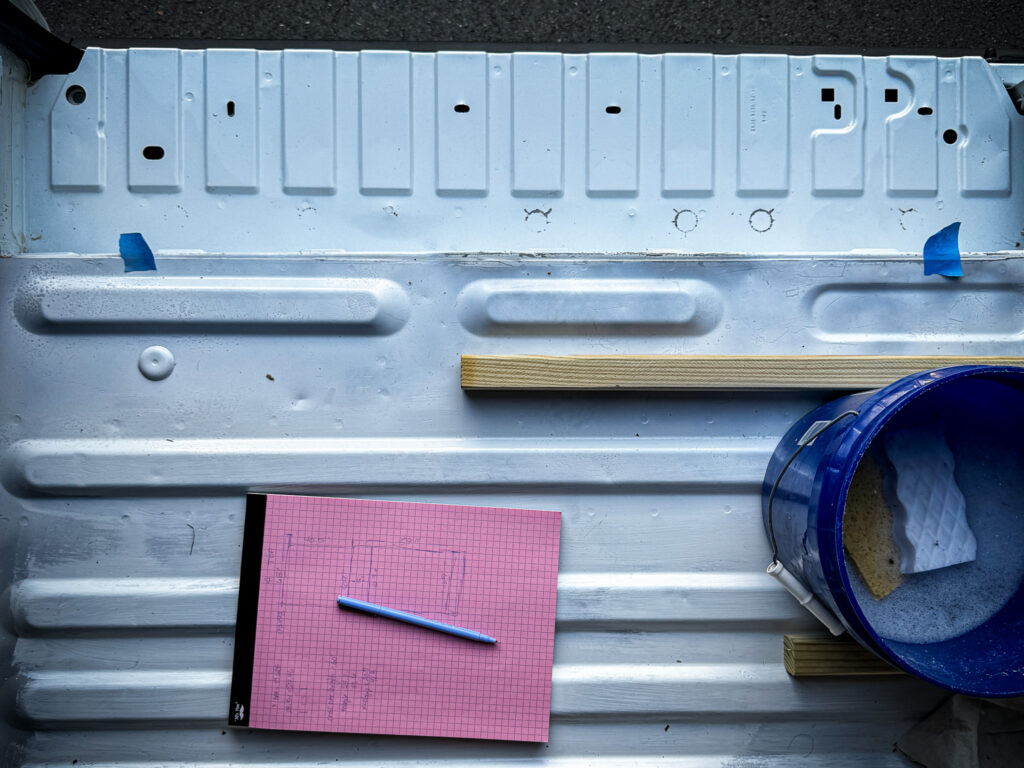
Again, there are a lot of opinions about how to install a floor in a cargo van. I consulted a handful of websites, including Far Out Ride – maybe the most helpful van build site I’ve stumbled upon to date – and sifted through a vast amount of conflicting advice on a variety of forums and Facebook groups. At the end of my perusal, I determined that there was absolutely no consensus. So, armed with power tools, the divergent opinions of the internet and a few facts from valid sources, I settled on the following:
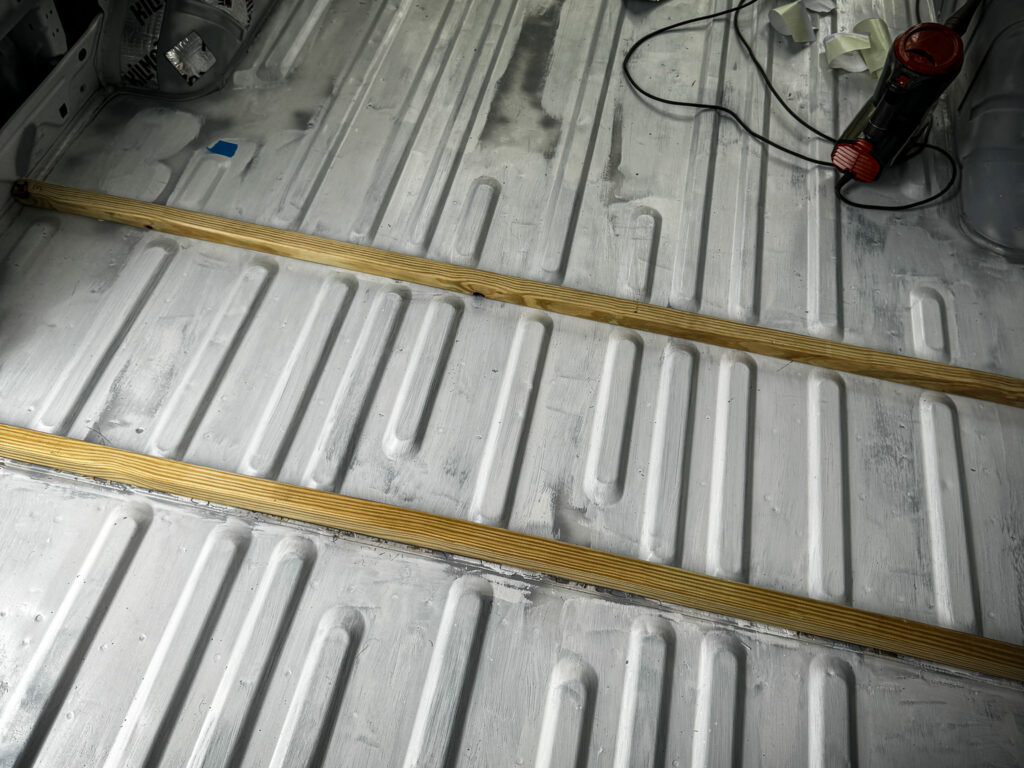
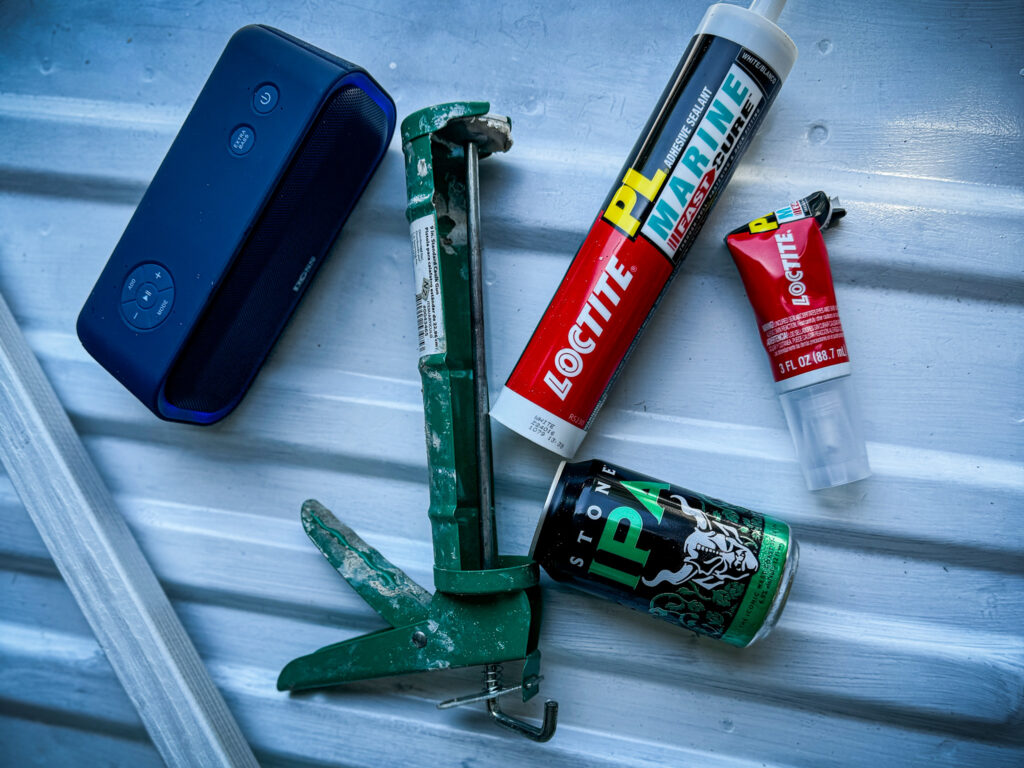
First, I framed the floor with strategically placed and treated 2x2s that I secured with Loctite’s marine-grade adhesive. I put them in the channels in the cargo area, mostly because that’s what made the most sense with the insulation I wanted to use.
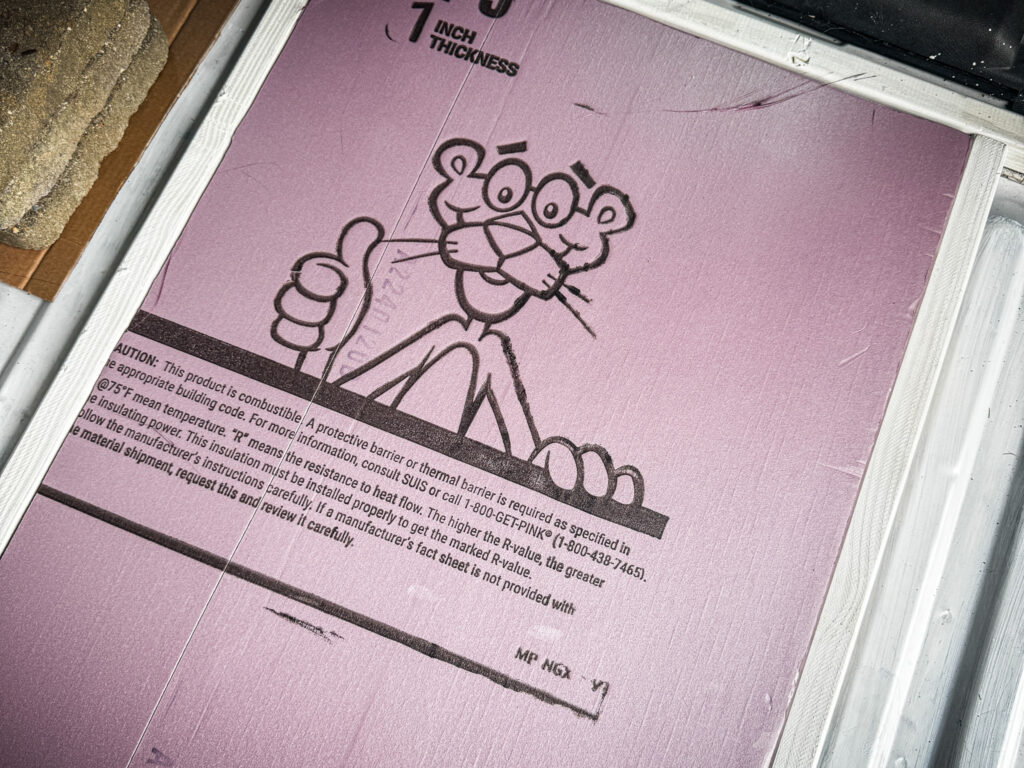
Then, I insulated between the frame with 1″ XPS Rigid Foam Board. Insulating a van is pretty similar to insulating a house, and just as important. I considered a few options for insulating my floor, but ultimately decided on the foam board because it had a decent r-value (r-5), was relatively inexpensive and easy to work with, and it was the most common floor insulation I came across during my research phase.
Finally, I laid 3/4″ cabinet-grade plywood over the base created by the frame and insulation. I went with cabinet-grade plywood because it’s already smooth, saving me the extra step of having to sand it down later before I apply my final flooring. To secure the plywood, I used both screws and a bit of the leftover Loctite. I also had to sand down a few corners and edges to get everything to fit perfectly, mostly because nothing in a van is even or level.
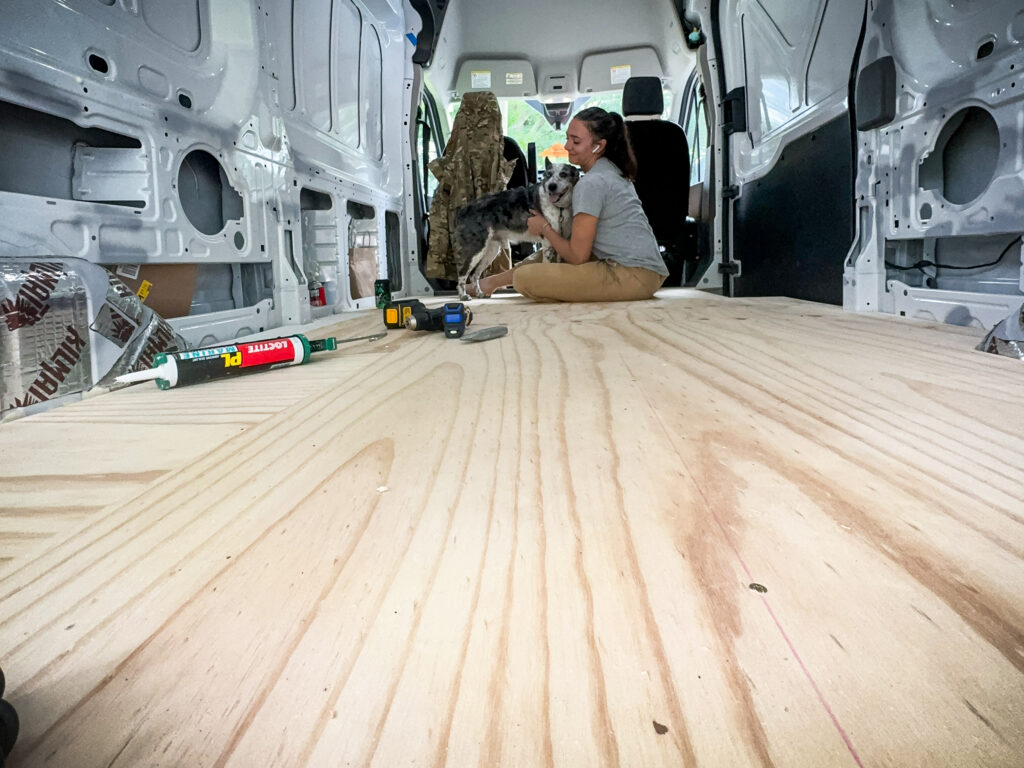
Along the way, I used Great Stuff to fill in around the edges, as well as in a few cracks and creases were the different components came together. I did not put sound deadener on the floor because multiple sources claimed it was unnecessary and their logic generally made sense to me.
Once I get a little bit further along with my build, I’ll make a final decision on flooring. There are, of course, a lot of opinions about the best type of flooring to use in a van conversation, and I am still very much weighing my options.
The Dollars & Cents
Here’s the full breakdown of what I spent on constructing the floor, as well as the tools I used to make it happen:
Materials
| 2x2x8s (10) | $33.50 |
| Loctite Marine Grade Adhesive (2) | $34.96 |
| 1″ XPS Rigid Foam Board (2) | $30.97 |
| 3M 77 Adhesive Spray (to secure the foam to the floor) | $11.95 |
| 3/4″ Plywood (3) | $149.64 |
| Screws | $9.48 |
| Great Stuff Gap Filler (2) | $15.96 |
| Kilz Mold & Mildew Primer | $16.98 |
Tools
Owned
| Dewalt 20V Cordless Drill | Dewalt Circular Saw |
| Miter Saw | 48″ Level |
| Caulk Gun | Speed Square |
| Clamp Set | Black & Decker Palm Sander |
| Dewalt Jigsaw‘Dewalt Jigsaw |
Newly Purchased
- Kreg Accu-Cut Cutting Jig – $89 – Jig saws and circular saws are great, but it’s not always easy to get long straight cuts with them. That’s why I bought this thing. It attaches to my circular saw and makes cutting straight lines easier than baking a potato. It has quickly worked its way onto my list of favorite tools, is worth every single penny I paid for it, and honestly, I’m mad I didn’t buy one five years ago.
- Foam Cutter – $29 – This thing made cutting the foam pieces much, much easier, but I also didn’t get really proficient at using it until the very end of the process.
Grand Total for Floor Installation: $421.44
And Then?
As it turns out, one of the pieces of plywood I used was more warped than I first realized. It was warped enough that it was starting to pull up some of the floor joists and after a few weeks of deliberation, I ripped up about 60% of the plywood and replaced it. It was easier the second time around, I used bigger and better-secured pieces and I have zero regrets about taking the time (and money) to fix things. The floor is quite literally the foundation of this thing, so it seems important to get it right.
Next up in the van build: cutting holes in the van!

+ This post contains affiliate links, which means I might earn a small commission when you make a purchase through my links at no extra cost to you.